Wednesday, February 17, 2010

Tone Mapping

Tone mapping is the process of taking lighting values and converting those to display values. By using different equations we can get different effects in this process. The first three images below were done using Reinhard's model, using a constant key value but adjusting the maximum luminance.


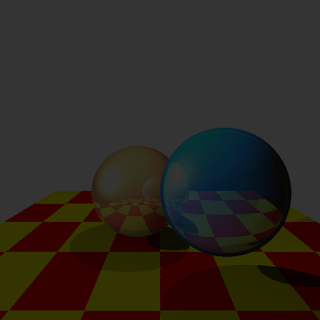

The fact that these three images are similar has to do with the nature of the mapping here. The mapping equations attempts to convert the lighting units to a fixed luminance level for display. In essence, since the entire scene has the same lighting contrast in each of these images (just different absolute lighting levels) they all map to similar display units.

The image below adjusts the key value to create a brighter image. The lighting units here are being converted to brighter display units thanks to a higher key value.
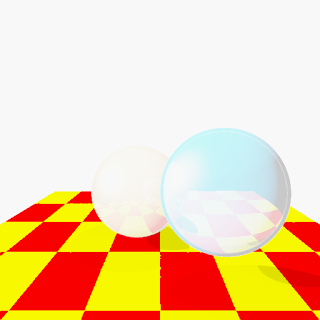

Finally, we see an even brighter image below. This image used a very high key value which created an over-exposed look. Key values can either be manually selected, or they can be pulled from the image itself. A pixel position may be used and the luminance key read from that pixel position.

Thursday, February 11, 2010

RenderMan Stuffs

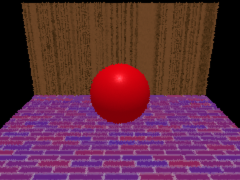
So, here's some renderman images. They are even less impressive than my raytracing images. That's because renderman is complicated and when just starting out your results tend to be... underwhelming. Trust me, prman (Pixar's implementation of RenderMan) has way more power than my raytracer.


Wednesday, February 10, 2010

Success in the end

Taking a last stab at it I got refraction working. The only problem is that total internal reflection is not quite working. I'm not too concerned about that. In general it looks pretty good. The problem was in the refraction ray calculation.


Next Steps

I'm still having trouble getting my transmission looking correct because I've been focused on the occlusion culling. I've figured out what I'm going to do to thread the system, but I don't think I'll be able to finish before the end of the quarter.

I will be threading the system by calculating the occlusion for the next frame while the current frame is rendering. Essentially, I'll be delaying the system by one frame so that the occlusion mapping can go head and do its rasterizations on the next frame. This system is very similar to how object-space motion blur is done. Transformation matrices are stored from last frame and used for rendering by the transformation matrices for this frame are used for occlusion culling.

Discussing this with the Ogre team led me to the current plan. I will use the existing WorkQueue system in Ogre but I need to augment it so that custom thread pools can be created. The thread pool for the occlusion system will be reserved for per-frame tasks. Since both this and the double-buffered transformation system are considerable changes I doubt I can finish them in time.

Instead my plan is to create a hierarchical z-buffer. In theory this can lower the amount of rasterization needed. This combined the octree should be able to speed up a lot of calculations. The rest of the quater will focus on creating good example scenes and doing performance testing of the non-threaded system.

Tuesday, February 2, 2010

Transmission First Try

This time we need to put in transmission (transparent surfaces with refraction). When a surface is hit, the raytracer needs to create a new ray and trace it through the transparent surface and calculate an exit direction. That exit direction will be traced and then the color from that bent ray will influence the color of the transparent surface. For this first attempt only the first refracted hit is calculated, which results in a very flat looking refracted surface.


As you can see the effect isn't quite finished. The blue sphere does not look transparent. It is not nearly as good as the reflection effect on the orange sphere.